Have you ever wondered how those epic underwater (split) shots are made? They are fun, unique and give a different perspective to an otherwise average shot. Read below for our best tricks.
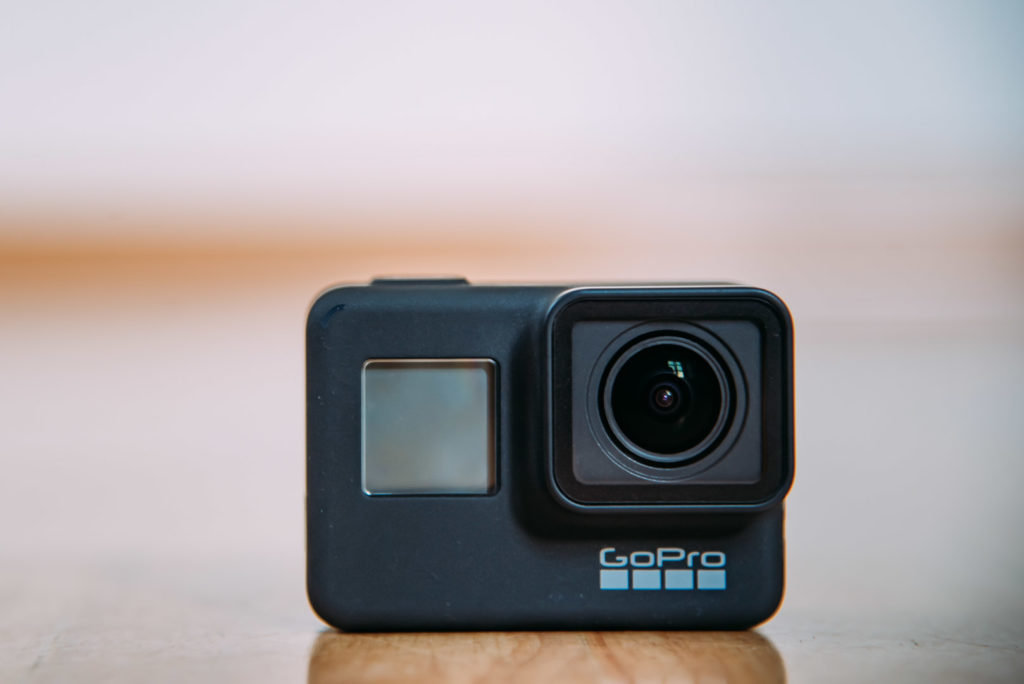
USE A LARGE DOME AND GOPRO
This obviously goes without saying – having the right equipment is essential. Our personal weapon of choice is GoPro 7 Hero Black & PolarPro Fiftyfifty Dome for the split shots. This is the one we use, but there are many different variations of dome housings for GoPro available online. When purchasing, just make sure it is compatible to your GoPro, see the reviews by other users on how watertight it really is, if you can see the screen when you shoot and how easy it is to use for a beginner.

KNOW YOUR EQUIPMENT
Know your equipment and all it’s functions before you get into the deep water. If you’re confused about your camera settings, you’ll have a difficult time getting that amazing shot. So, practice, practice, practice – in shallow waters or even in the pool to get comfortable with your equipment.
LOOK FOR THE RIGHT CONDITIONS
Calm waters are the best, because waves make it pretty hard to shoot.
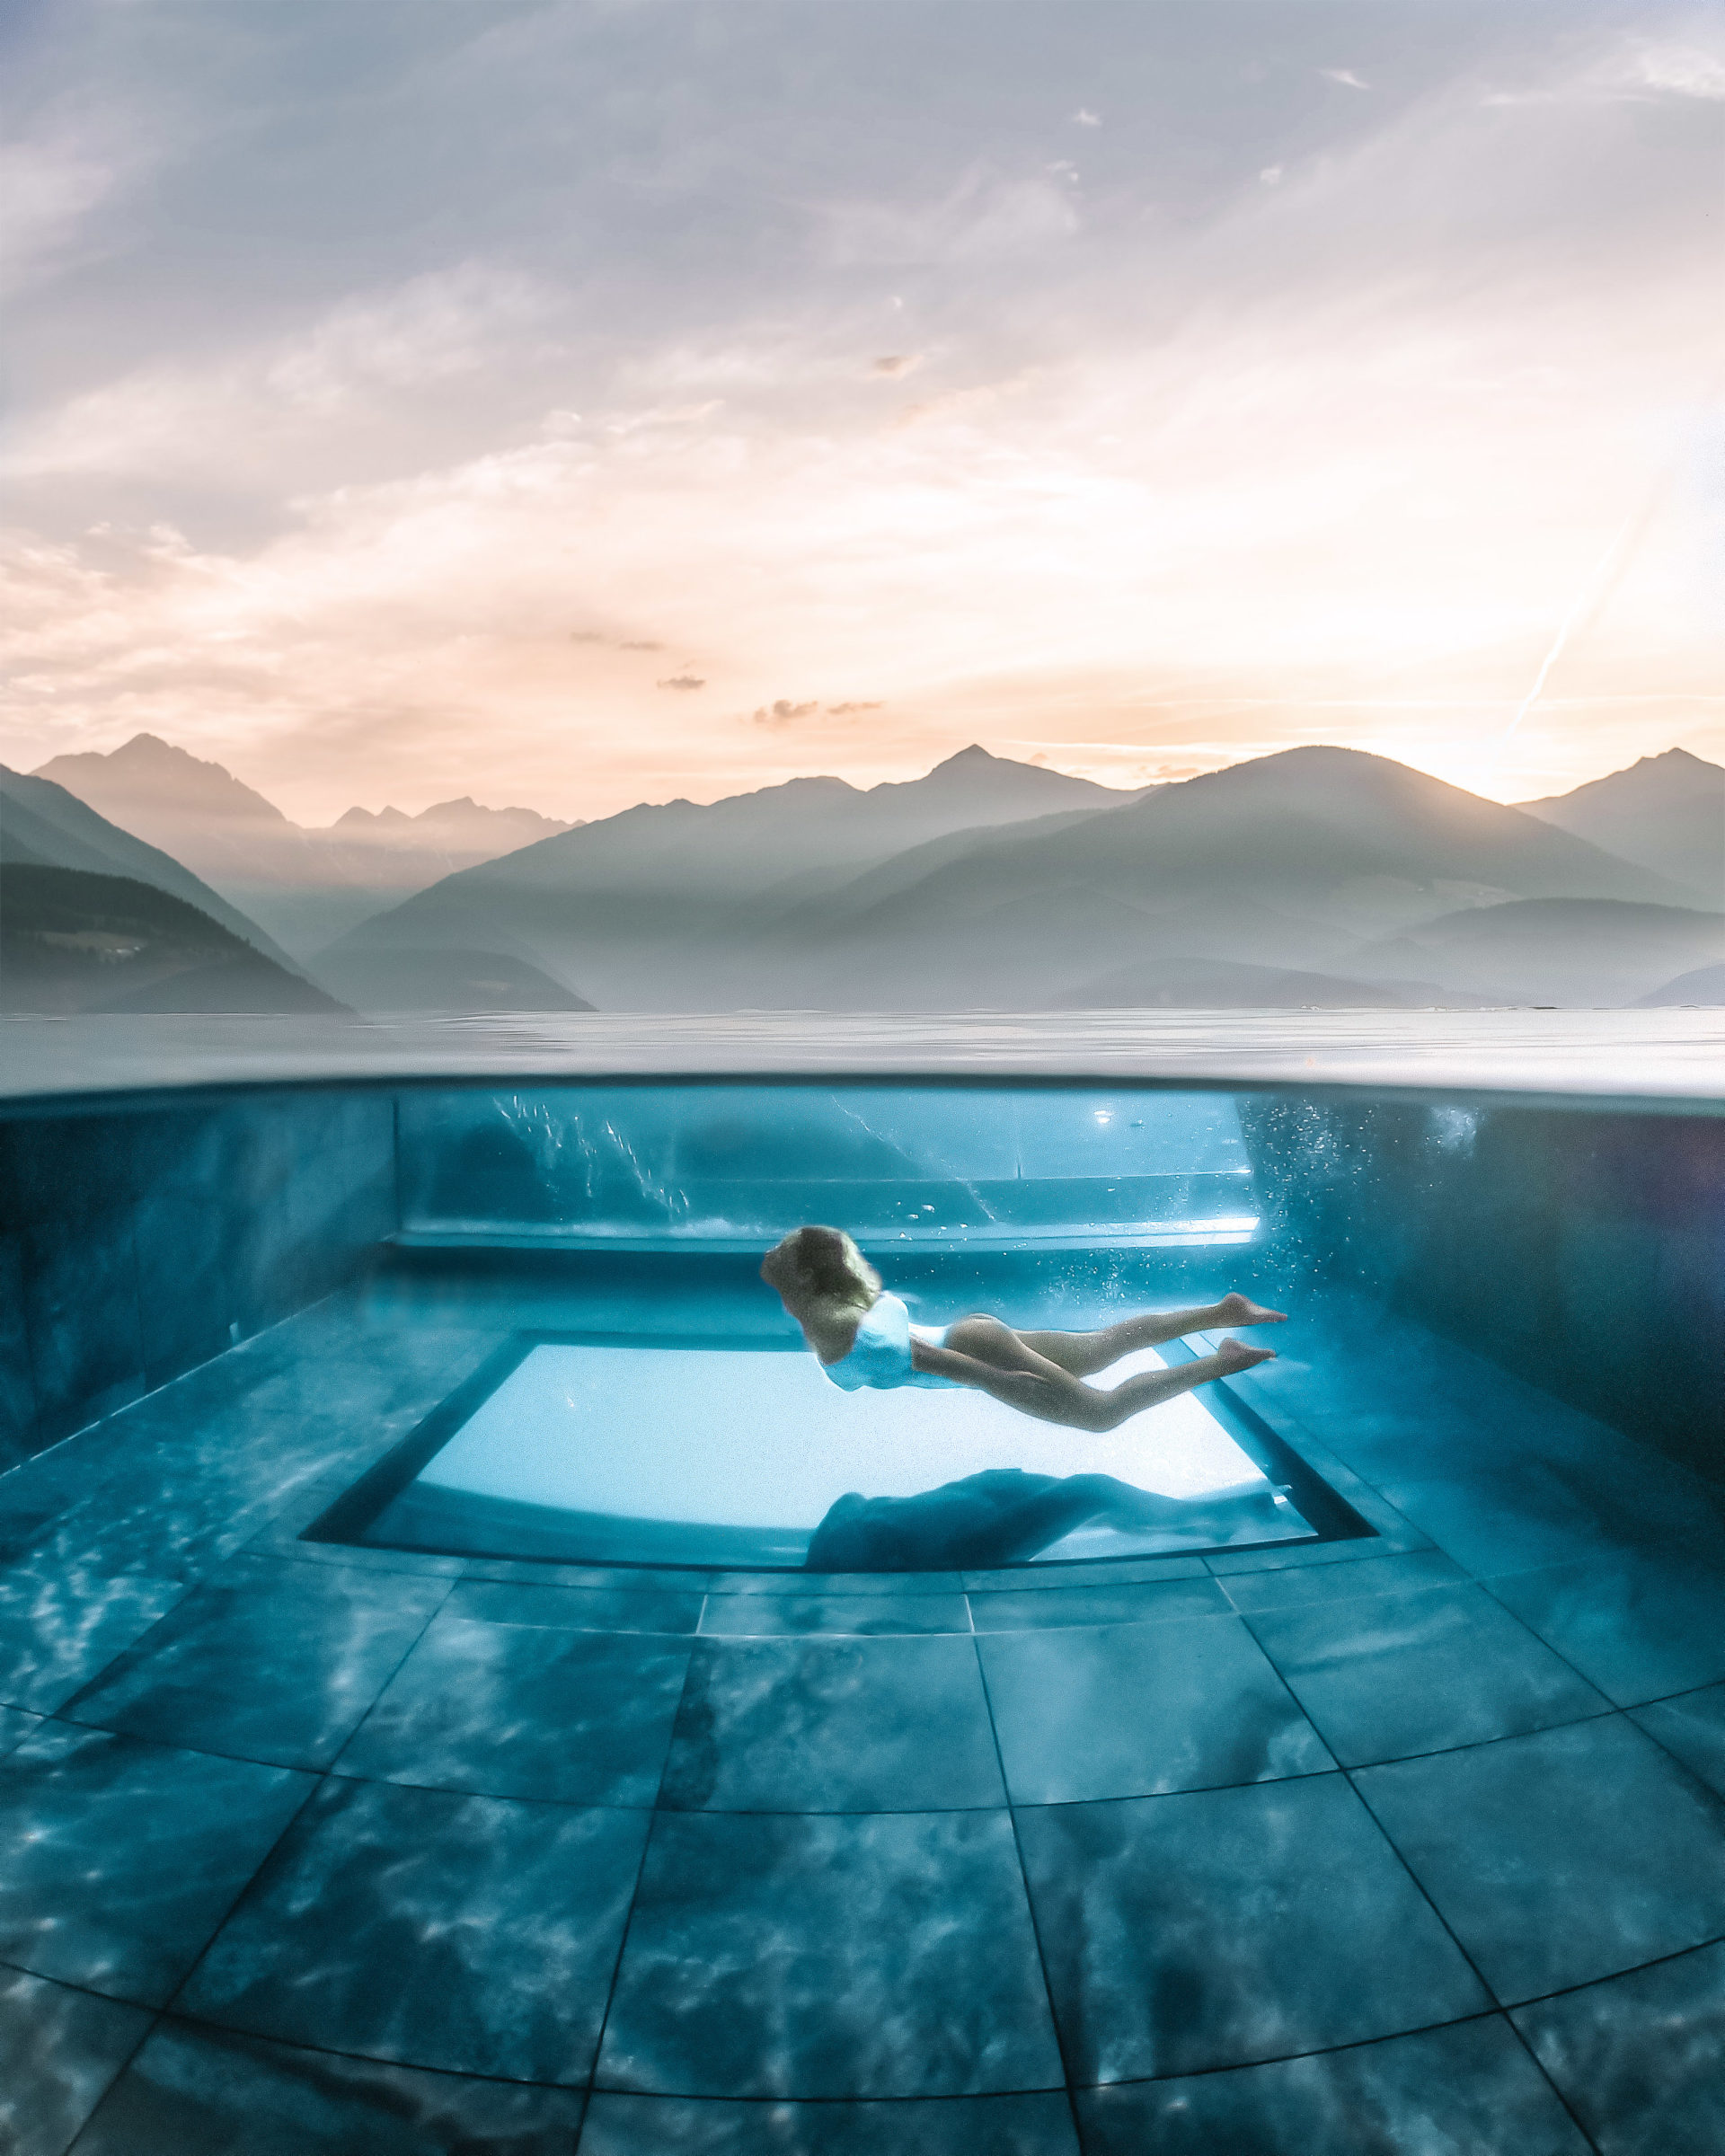
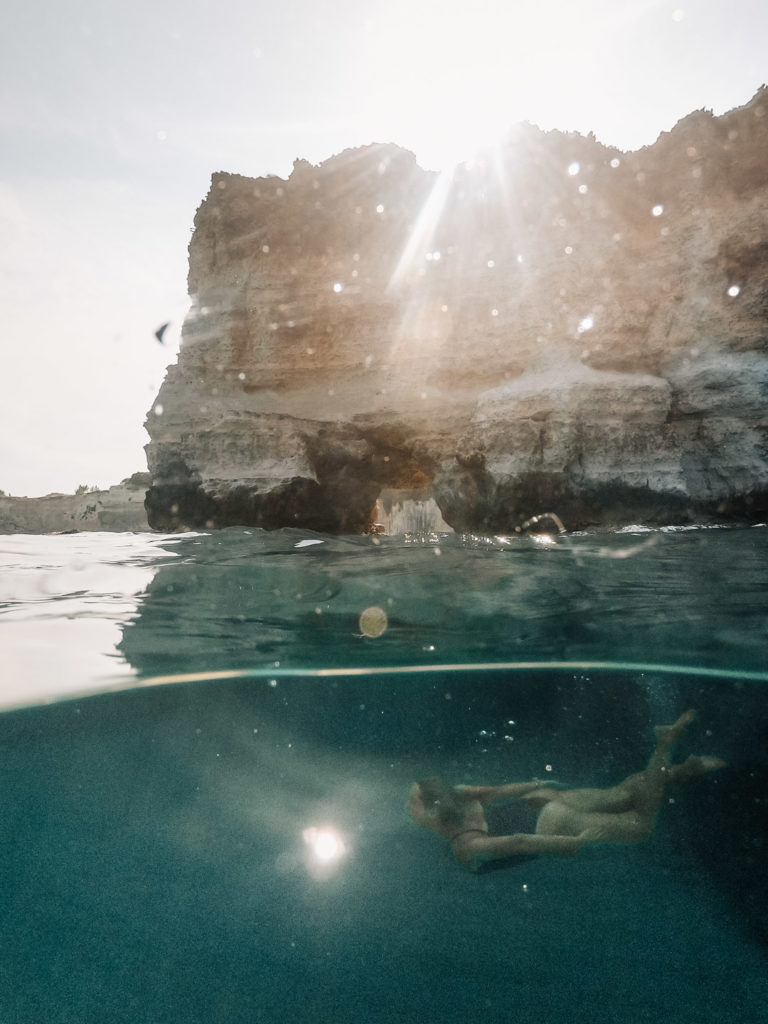
For visibility the best times to shoot underwater are bright afternoons when the sunlight travels intensely and aplenty in the water. Having the sun at a lower angle means that light rays will be warmer and softer as they penetrate the surface. Shooting when the sun is at its peak (like on the below photo) will also give you the perfect opportunity to play with direct sunlight rays as they drift down to the sea floor.
It depends on what effect you are aiming for, but make the most of the light that is available to you. So keep an eye on where the sunlight falls.

KEEP WATER DROPS OFF THE DOME
Water droplets on the dry part of your dome could get in the way of your shot and simply ruin your picture (like on the below photo). Just spit, dunk the dome, shoot, then repeat. And if a few drops will remain it’s nothing too big that can’t be removed in post-edit.

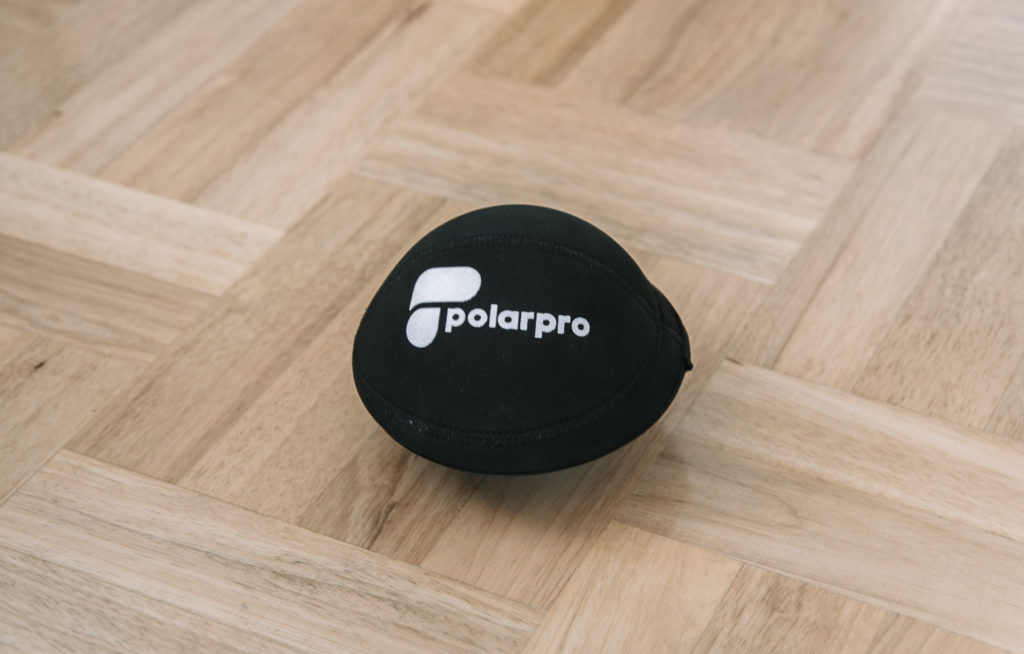
AVOID SCRATCHING THE DOME
Always keep your dome in a soft cover/safety pouch because if it gets scratched it’ll show on your photos. And this sucks even more than getting the water drops on. When you’re done taking split photos make sure to rinse your dome and put it away wrapped up in a soft and protective cover. Don’t just chuck it in your backpack. Our dome came with a cover when we purchased it but you can also get cheap ones on Amazon separately.

USE FISHEYE LENS/WIDE MODE
The best rule is to stick to a wide mode so that you can capture the most possible. This will showcase a great deal of the landscape but of course this is just a personal preference. It depends on what sort of final shot you are aiming for.
SHOOT ON BURST MODE
Yes, you will end up with a lot of bad photos you don’t need but setting your GoPro on burst is possibly the single most effective thing you can do to take good over / under photos as the water keeps moving. Most likely 1 out of 30 will make a cut, so use it.

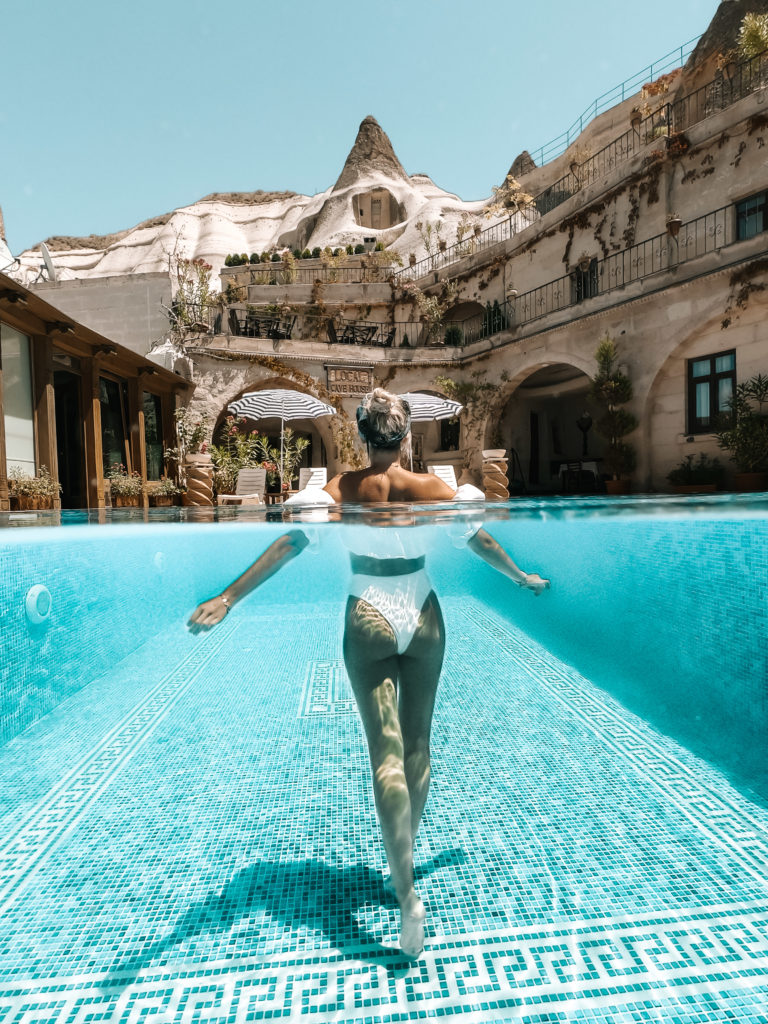
GET CLOSE – THEN GET EVEN CLOSER!
Water magnifies things so when you think you’re close, there’s always room to get closer for the best shot. The farther you are from your main subject (fish, turtles, humans), the less amount of color the photograph will portray, resulting in a relatively dull image. This is because as light passes through water, color and contrast are lost (comparison below).

Also, get down to eye level.

IF YOU’RE SCUBA-DIVING…
…Then you won’t be needing a dome. Instead, you will need an underwater torch because at a depth of only a few metres, a large part of the natural light is already lost. Even if we can hardly see it with our bare eyes, the camera’s sensor immediately notices it.
What you will also need is the red filter. Let’s face it, underwater shots do not come out the way we think they will without a little help. Red tones, in particular, disappear after only a few metres (cca. 6) of depth. With so-called red filters, you can give back a lot of the original colours to the photo. These filters come in different shades for different depths.

POST EDIT TO REMOVE THE WATER DROPS AND MAKE IT MORE EPIC
You’re bound to get some water drops on the top half of your dome, but worry not, it’s nothing that Adobe Lightroom or Photoshop can’t fix! Besides that, editing part is really important to reflect accurate coloring as GoPro doesn’t always capture the clarity and definition you see in real life. In all honesty, photos don’t even look like they actually did with the naked eye because the camera strips some of the details away. But with the right tools even dark and blue-tinted pictures can be turned into really beautiful photos.
Quick tip
Always make sure to shoot in RAW format so when editing you can bring back those colors. Then learn how to edit the underwater shots. You are going to want to add contrast and clarity to your shots. Then, adjust the “temperature” slider to make the image cooler or warmer – depending on what it looks like. You may also want to sharpen the image, bump up the whites and add saturation as well. But mostly, you will want to work on bringing out the natural colors of the subjects (sea animals, people etc.).
All of these steps will help add detail and color to your image that may originally seem dull. Most of these steps can be done from the smartphone if you don’t want to learn a professional editing software. Or you can use our presets and make your photos look nicer with the ease of just one click. Click here to see the full collection.


We hope you have found this post useful and that it will help get you started with (over / under) water photography. If you have additional tips please comment below, we’d love to hear them and expand this guide.


The comments +