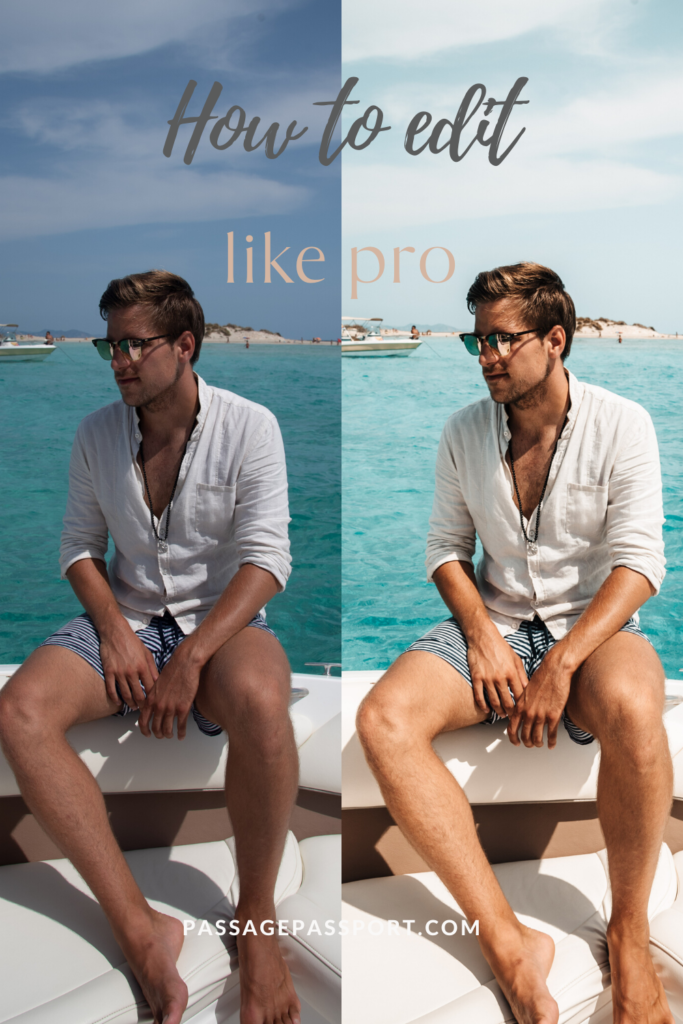
One of the most asked questions we receive on daily basis so we have decided to make a quick guide on how to take your photos to the next level for y’all. Are you excited to dive in? Let’s do it!
SHOOT IN RAW
We’ll shoot in JPEG when shooting with our phones, but most of the time RAW is our preferred way.
Shooting in RAW means you can get the best possible quality out of each photo, and it also gives you the ability to basically edit however and as much as you want. While shooting in JPEG, image information is compressed and lost because the camera processes the photo for you. So RAW means that the photo will look flat, without added coloration as in JPEG because it retains all the information needed for you to change all the values yourself. Keep in mind that RAW photos can be 3 times larger than JPEG, so stock up on hard drives.
LIGHTROOM
We use editing software Lightroom along with Photoshop. Learning how to edit photos in Lightroom is a fundamental part of a photographer’s workflow. However, if you aren’t willing to spend loads of money on gear and software for computer, you can still shoot with phone and edit in Lightroom Mobile App for free! And if you aren’t willing to spend lots of time learning, we have a shortcut waiting for you at the bottom of this article.
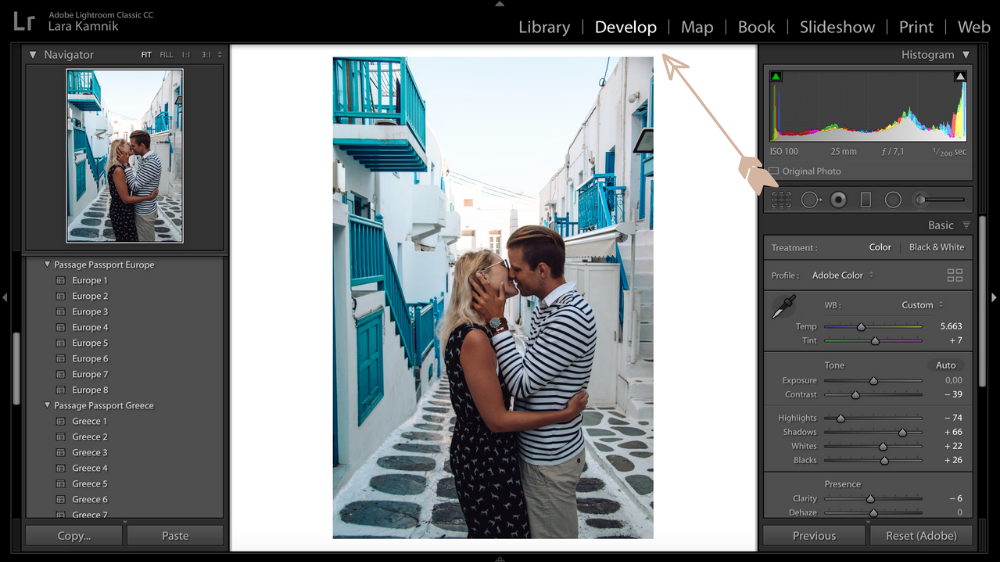
DEVELOP MODULE
First things first – after importing images to Lightroom we’ll hop on over to the develop module where we spend most of our time when working in Lightroom. From this module, we can adjust pretty much any imaginable setting of the photo.
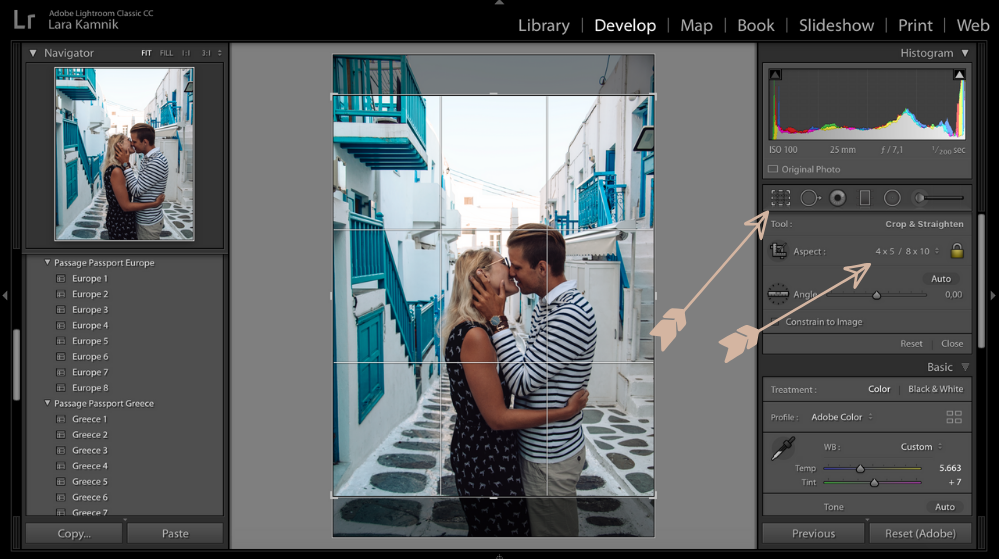
LEVEL & CROP
Secondly, we’ll check the horizon and cropping. It’s so easy to fix, so one of the first things we’ll always do is straighten and crop the photo for Instagram (4 x 5/8 x 10). This is also a good chance to cut out anything we don’t like.
BASIC PANEL
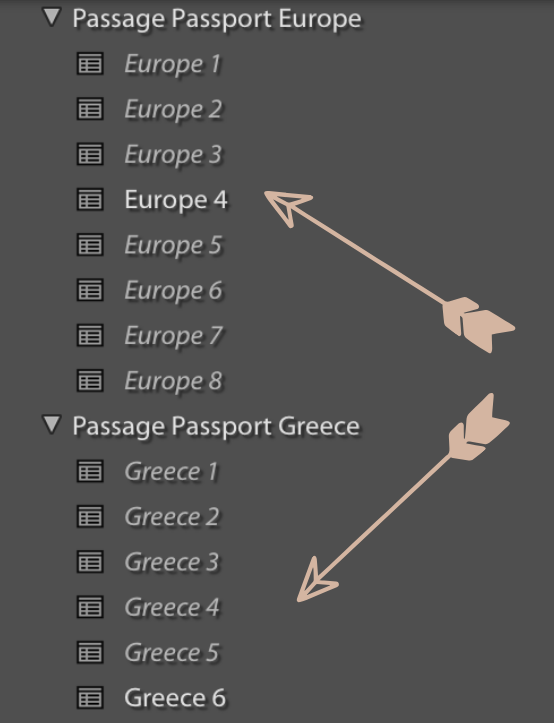
Next, we go to our “go-to” presets and play around to see which one suits the photo best. We just hover over them, select the one that fits best to the style of the image we’re editing and then manually polish the look with few final adjustments that usually take less than 3 minutes (see below).
From there on, all we typically do is slightly adjust the Exposure settings based on the lighting conditions and check the White Balance. This totally depends whether you like your photos cold or warm, so we either tweak by bringing down or up the Temperature and Tint.
Finally, we edit out any blemishes that we have, to make skin look smoother. That’s just personal preference.
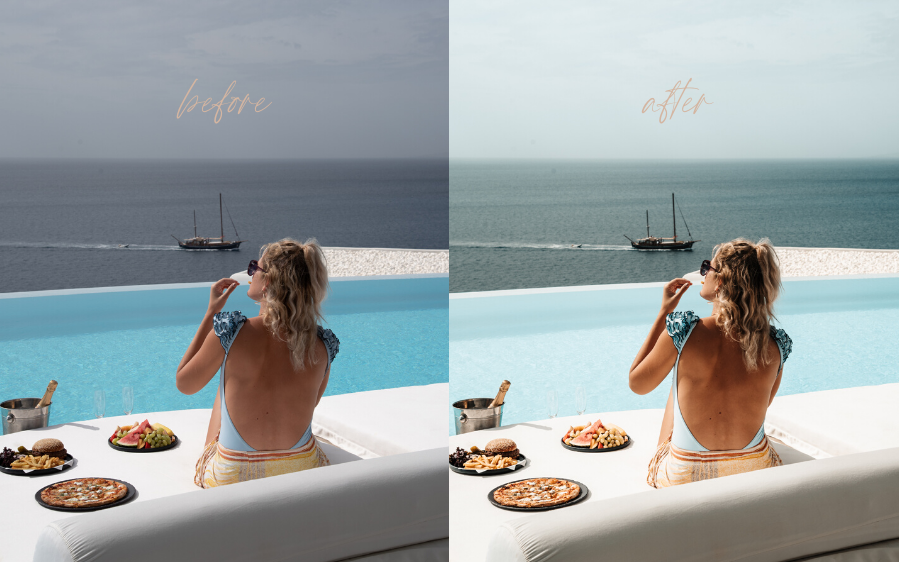
The possibilities are really endless and you can be as creative as you want, but unless you are a visual artist, a good rule of photo editing is to make your final images look as natural as possible.
We won’t go into more details in this article as it has taken us a few years to really nail down the Lightroom!
Now… We know that learning a new piece of software can be daunting, especially when it comes to Lightroom, which has so many modules, panels, buttons and options, so you might not even know where to start!
This is why we have a shortcut all ready for you…
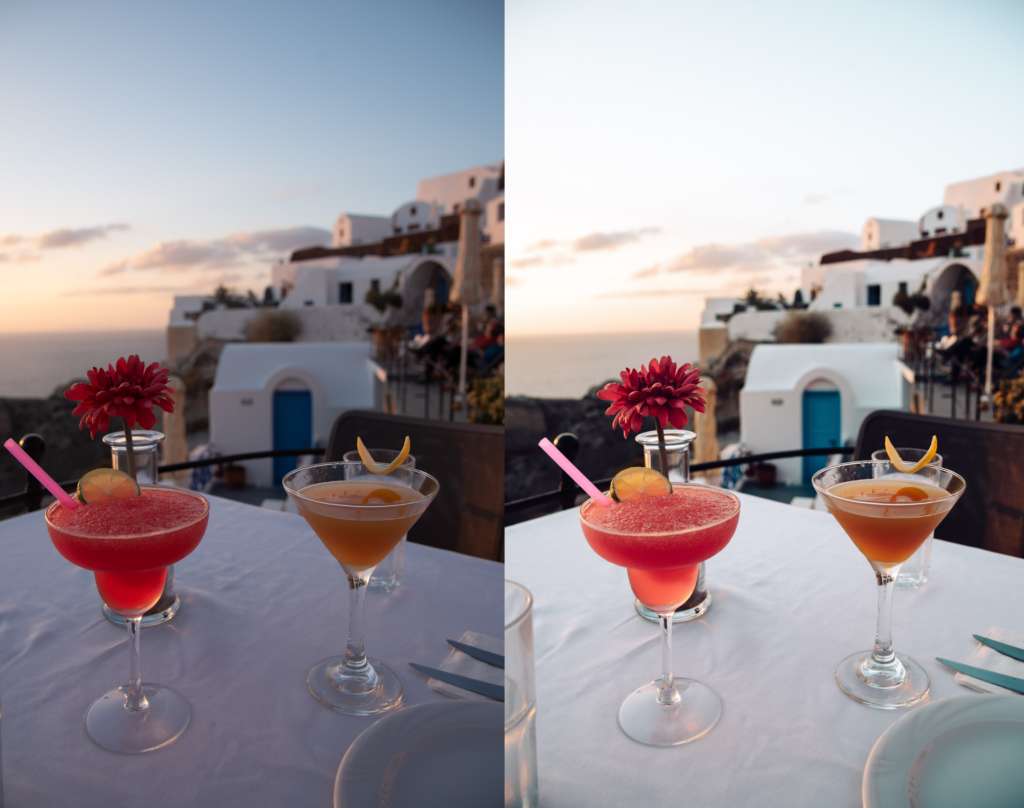
PRESETS
So, since there are so many people that want to edit like pro but don’t have the necessary skills or time to learn, we have compiled together our own presets! A preset is basically a filter you add to the photo with one single click, similair to what you do on Instagram. Thankfully, Lightroom offers this compelling editing functionality to make life easier for everyone, so YOU don’t have to waste hours trying to figure out how to get your photos look amazing!
We have spent the past years experimenting and creating these presets. Countless hours of tweaking, analysing and designing went into these, so we are very proud of them and their quality. We really couldn’t get by without them nowadays and we love to reuse them because they’re the fastest way to achieving the style that we personally love, is unique to us and that we are recognised by. With presets we can batch edit all the shots with one click in a matter of minutes which saves us tons of time.
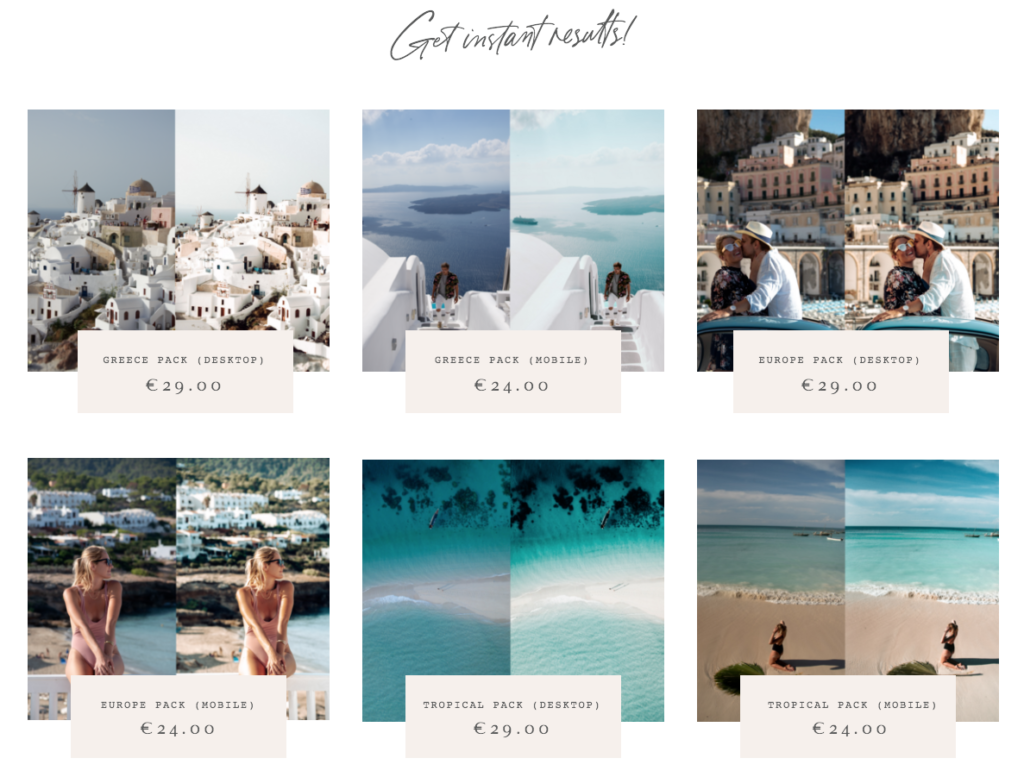
Here are the presets that we have been using and are available in our shop. They are a great base presets that you don’t need any expensive software for (just your phone) and that can be easily adjusted to make your own preferred aesthetic.
EXPORT
Exporting edited photos is one of the most crucial steps of post-processing. We’ve organised and edited our images, and now we need to export them.
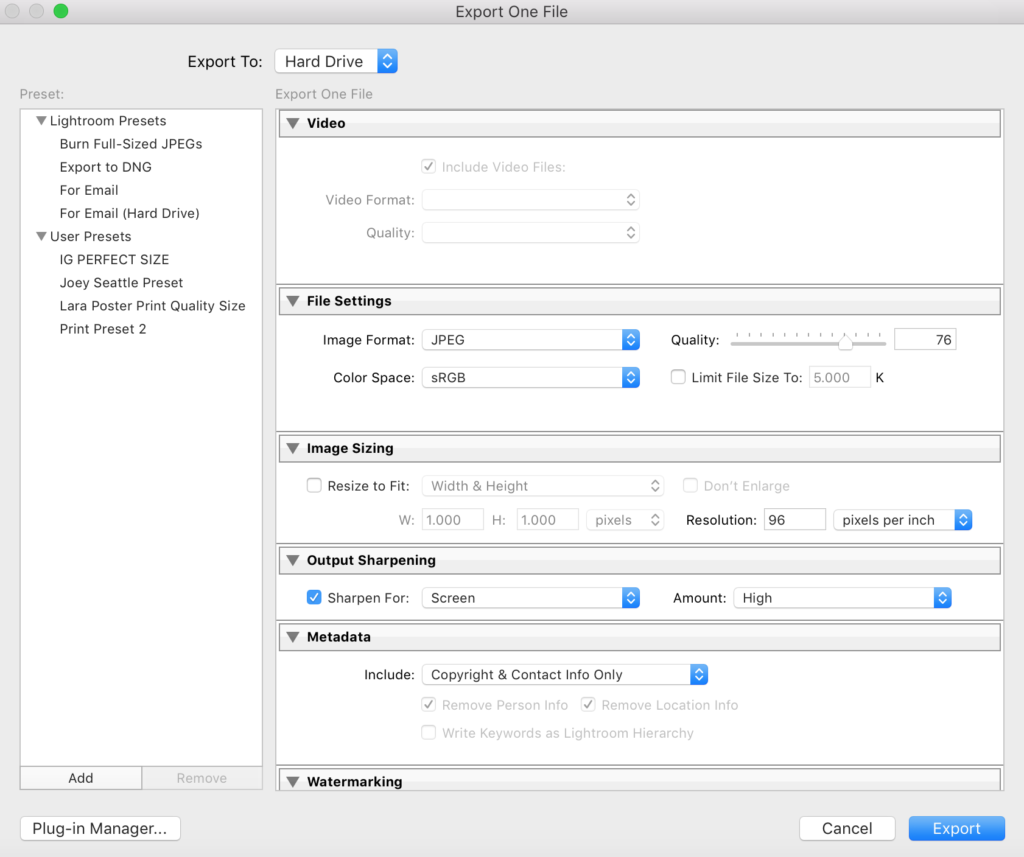
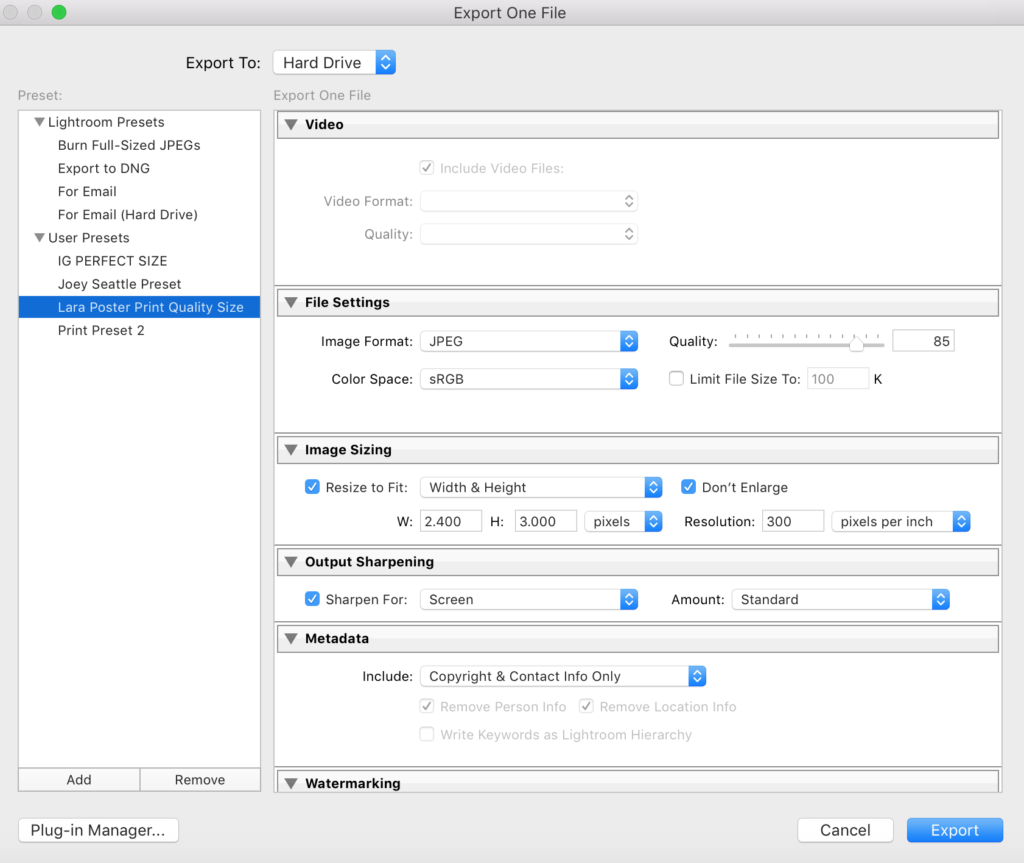
Depending on the use of the image, we want to set our export settings accordingly. Below is screenshot of our export settings for Instagram:
But if for example we wanted to print the image we’re exporting, we would set the settings as below:
After we’re done, we airdrop the photo to our mobile phones and publish!
You made it to the end of this article, congrats. Now it’s time to start editing your photos with Lightroom and take them to the next level!
Click here to get our personal Lightroom presets – the only presets you will ever need for both mobile and desktop delivered straight to your inbox!
Want to save our editing tips for later? Click to Pin!

Have any questions for us or want to share any lessons you’ve learned about editing? Let us know in the comments below!


The comments +